Back in April I posted about the fact that I had started building a Scalescenes engine shed. Off and on since then in evenings while watching TV the work has been continuing. So about time to show the progress to date……
One of the things that has really struck me building the model is how cleverly and well designed it is. If someone had mentioned card model to me not that long ago I would have assumed 4 walls and a roof and that all the detail would be in the printing. The surprise for me is actually how many pieces the model is made from. In many cases you build up the layers of card to create the different architectural elements. Buttresses, plinths, ledges, even window sills are all additional components that need to be added separately to create the overall effect.
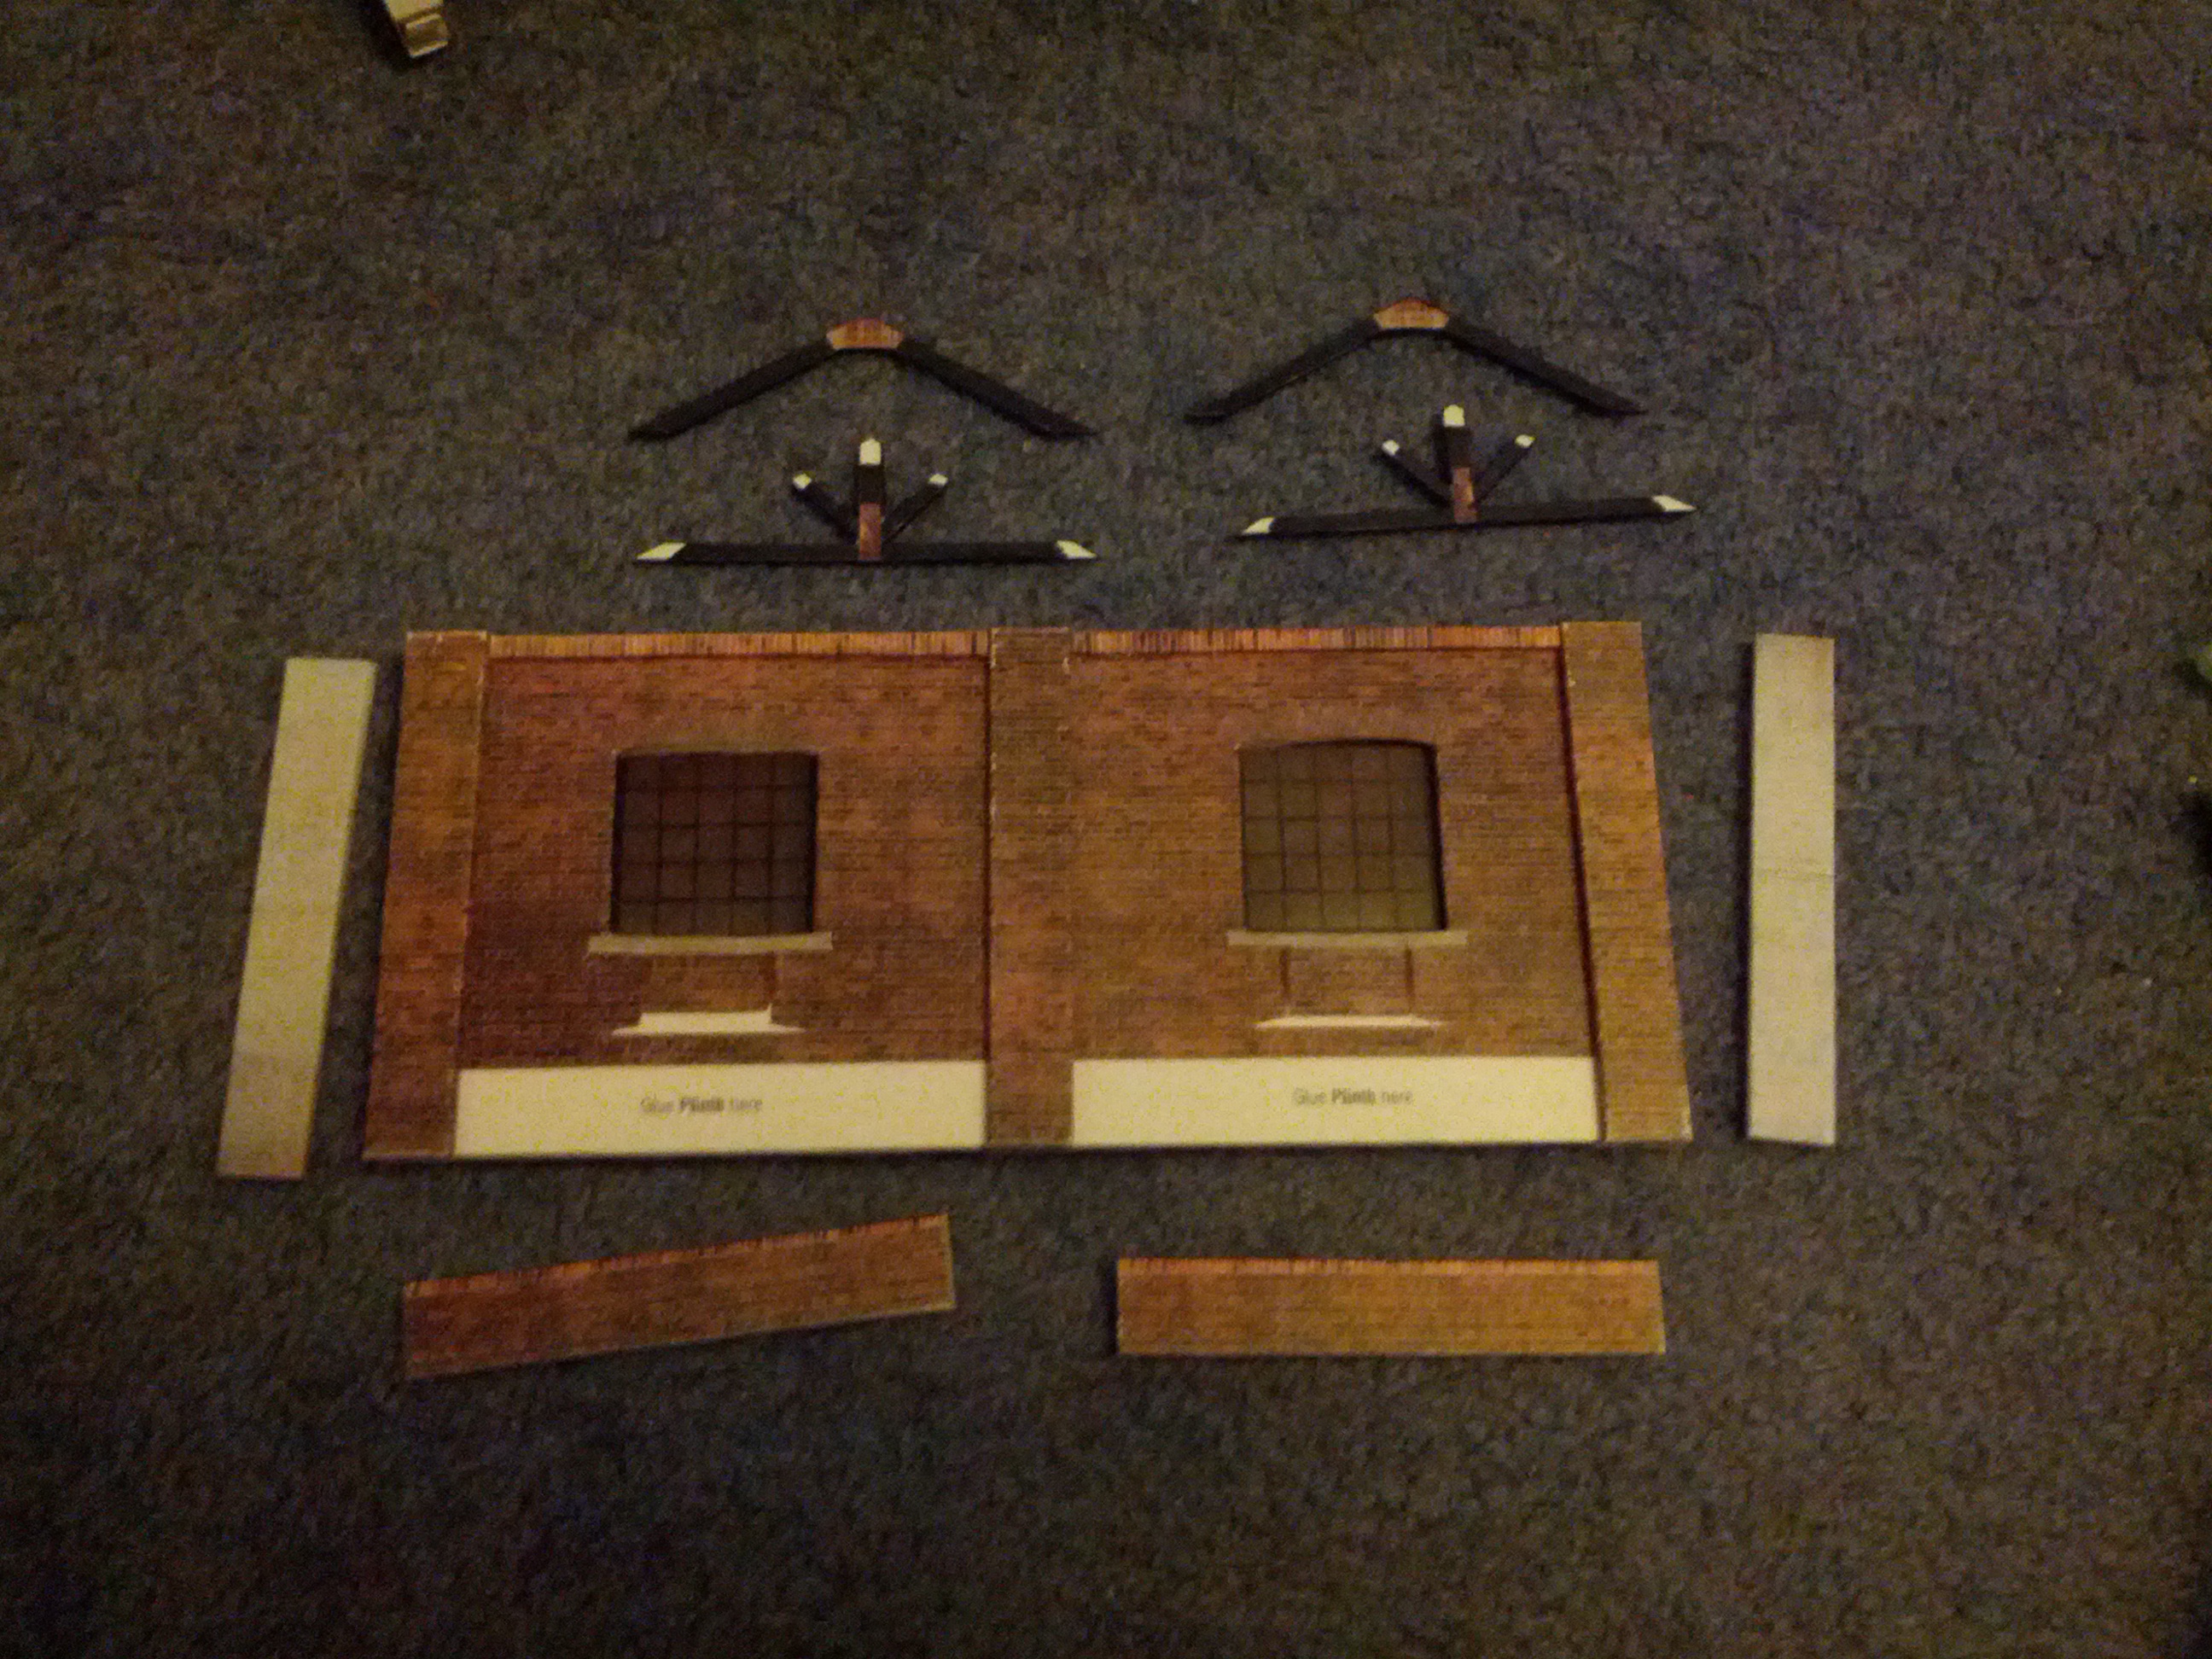
Some of the components that go into making the model – a partially built wall surrounded by buttresses, plinths and trusses.
One of the challenges for me has been the fact that I’m but just building one shed by three. Scalescenes gives instructions on how to build a double length shed, but are silent on how to make a wider one. Since I’m planning on doing both then I’ve had to try my hand at a small amount of scratch building.
Since the end walls overlap the sides I’ve had to work out how to adjust their width so that the two buildings join. Without this there would have been a significant gap between the two roofs, and trying to create the wall between the two sheds would have been a significant challenge.
On the theme of the middle wall – this has probably been the biggest challenge – how to join the two sheds sensibly and make it appear to work as one. In the end I’ve gone for large openings that match the buttress widths at the bottom. The main wall is now 4 x 2mm card layers wide, with the buttresses added to both sides. This means in places it’s around 12mm wide! Using all these layers has allowed me to try and get some additional strength from layering pieces of card together.
-
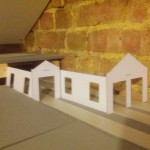
- Early testing of the shed in location showing how two of the three sheds fit together
-
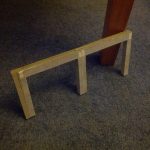
- The new scratch built wall to join the two parallel sheds
-
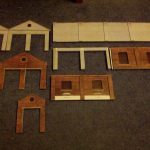
- Showing all the walls nearly complete.
I’m reaching the stage where the outside walls are nearly complete. So the attention will turn to the roof and then the final stages of assembly. However that still feels quite a long way off bearing in mind the detail involved in some areas such as the roof terraces. More on that next time (whenever that is….).