Apparently it’s been almost 3 months since the last update on here, however it really doesn’t feel that long. Despite the gap in posts that doesn’t mean progress on the railway has not been happening, however it’s been slowed down a little by life. I’ll cover progress on the main layout in another post sometime (by my record that could be any time in the next decade!).
In order to be able to progress with the base board I’ve reached a point where I needed to understand how the track would interact with some of the scenic elements, namely the engine shed. So over the Easter weekend I started on a new endeavor – the build the engine shed from a card kit, namely the engine shed from Scalescenes.
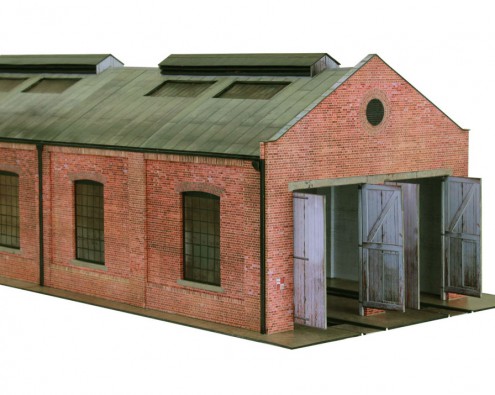
The target – the Scalescenes Engine Shed as it’s supposed to look
Now I probably need to be clear here, the last time I did any modelling was back when I was about 12 and generally it was plastic Airfix kits. The normal results were a model that looked about the right shape, but had various gluey finger prints on it and not painted. So this is the first time that I’ve ever attempted a card model or anything of this seriousness.
Just to make this even more fun, I’m not just building one of these, I’m doing three! My plan is for a double length section of shed with the two tracks in it, and and adjoining it will be another section, but this time a single track shed. So not only am I building a large model for my first attempt, but also it’s going to need a level of customisation to work.
It is one of the real advantages of the Scalescenes method is that I purchase the one kit and I and then print off as any as I like. Since the kit includes both the single and double track versions then a single kit is all I need for what I’m planning on building.
For those that have not met the Scalescenes stuff before – you download a PDF file which contains all the elements. Some pages are just cut out, others need to be mounted on card and then cut out.
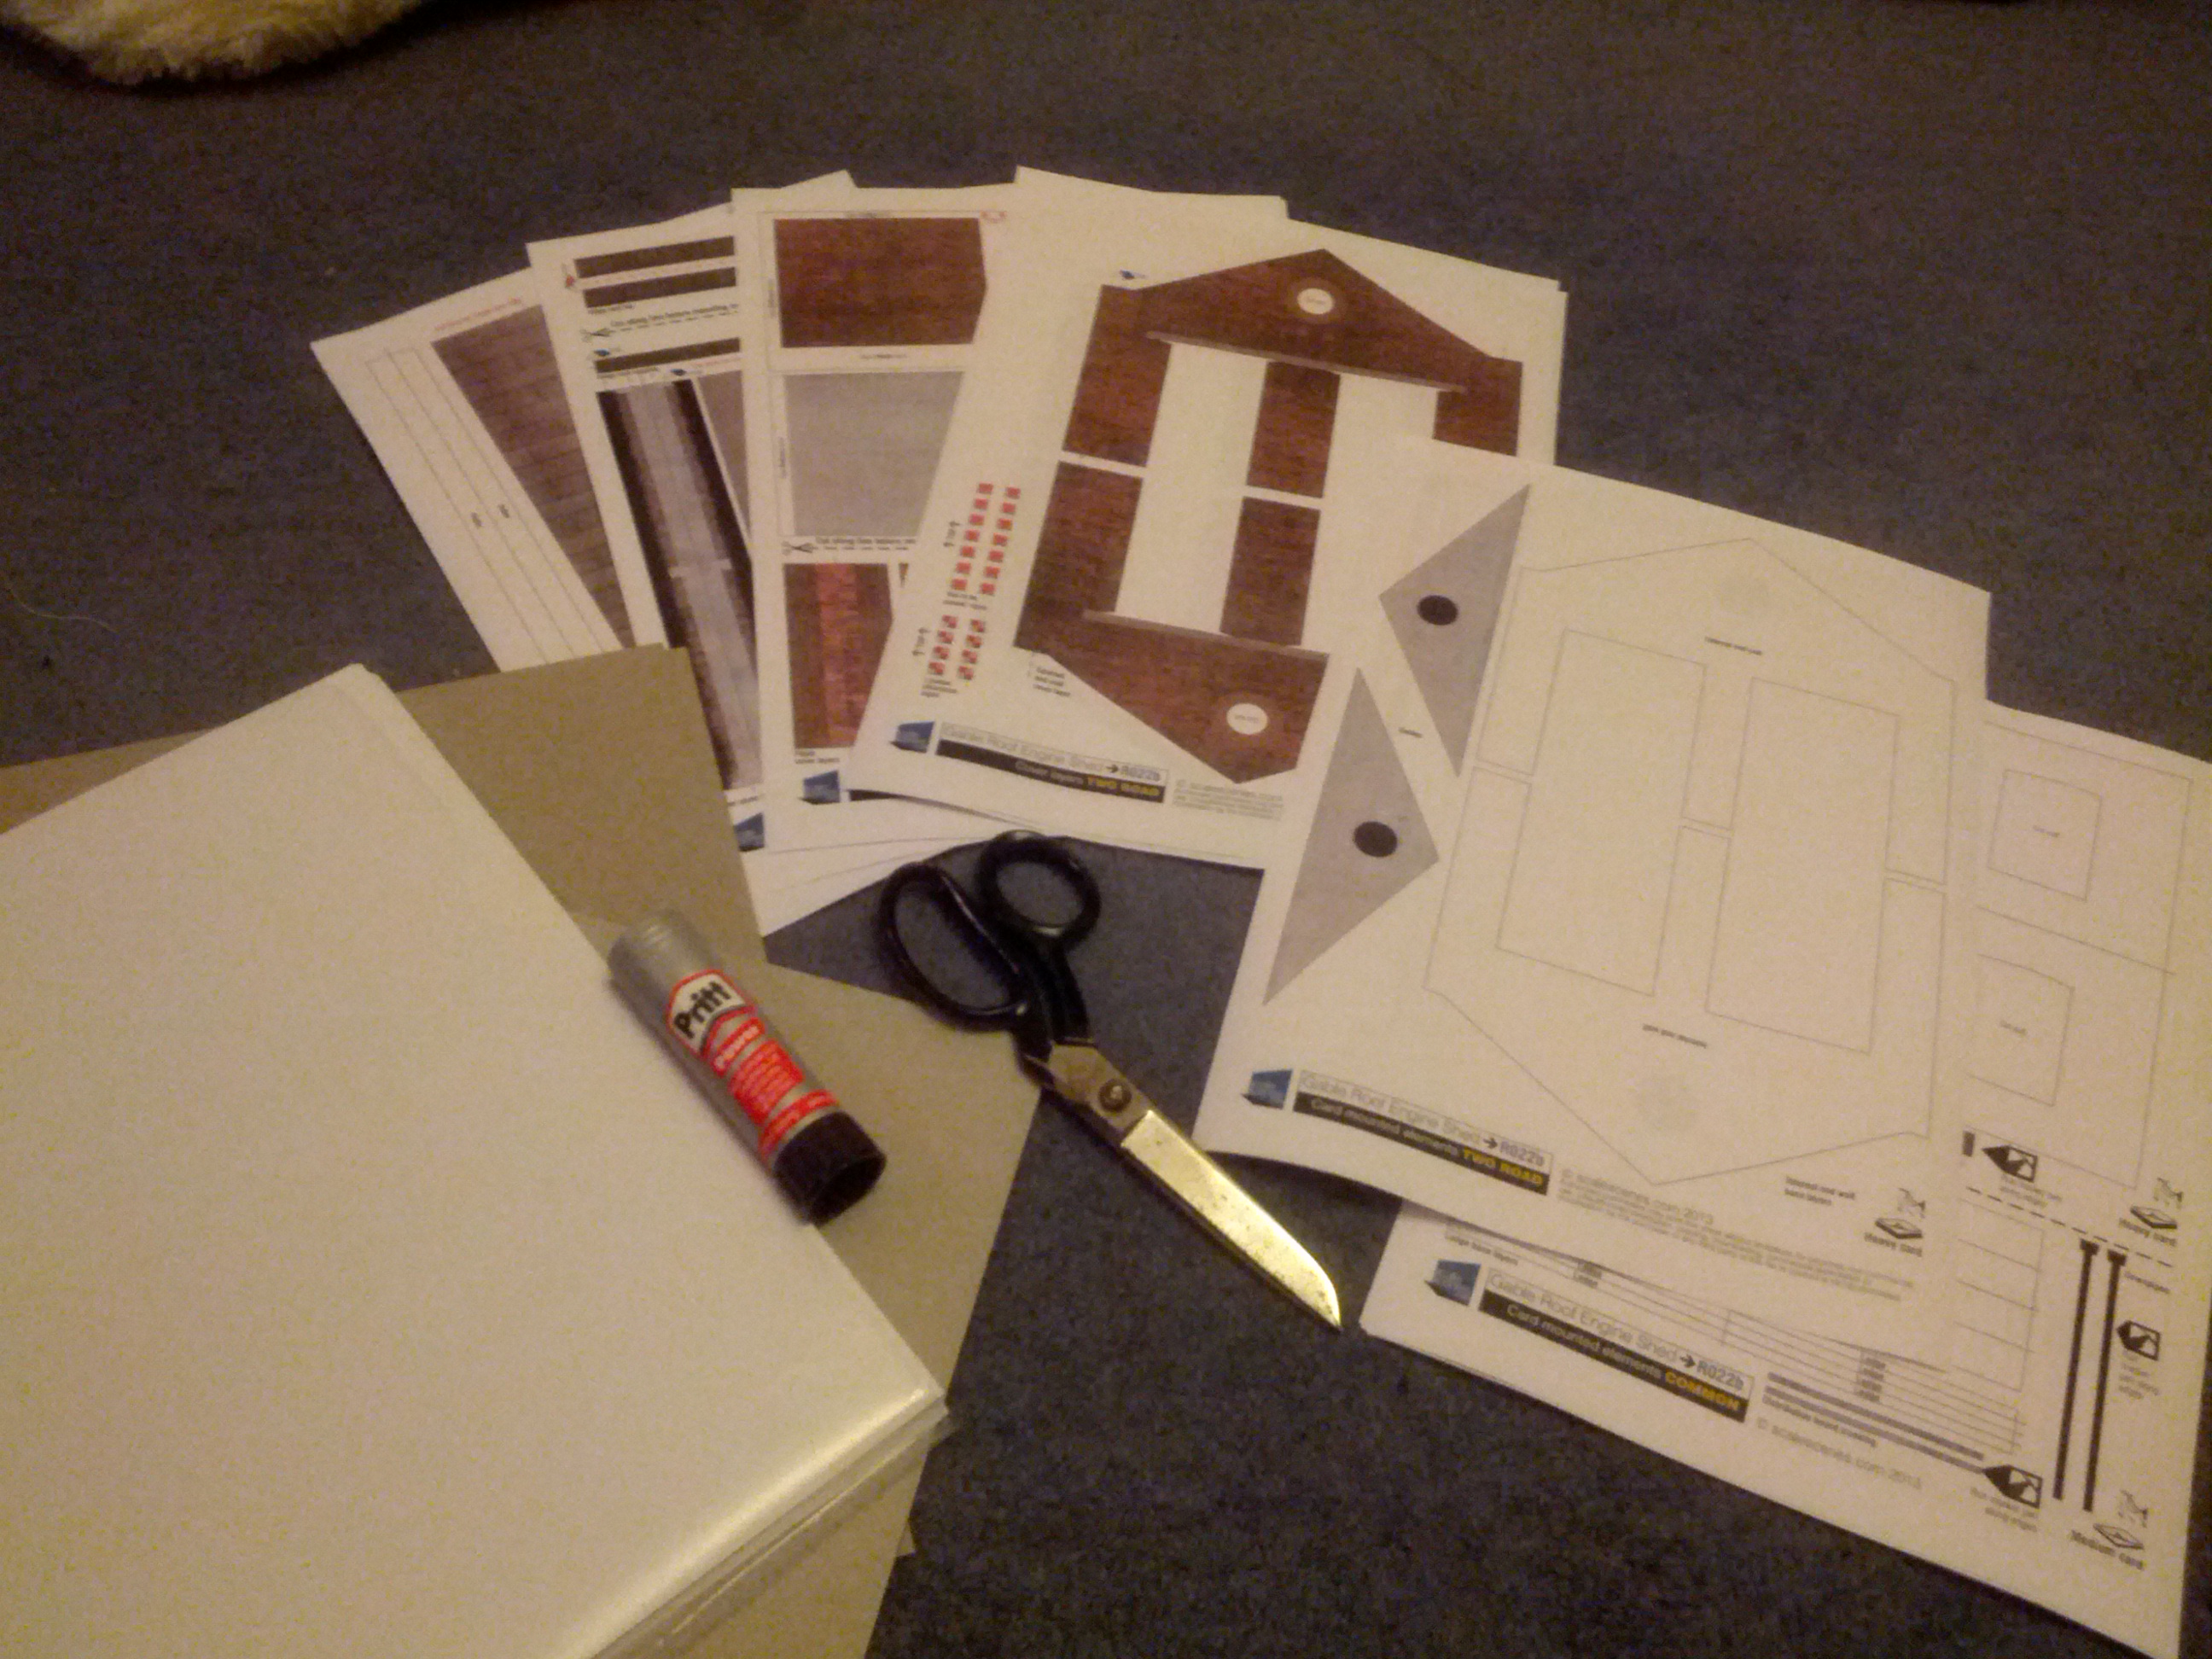
The Scalescenes pages printed out and ready to be mounted onto the card
So over the last week I’ve spent a good number of hours in front of the TV watching and also cutting out the different elements. What I have learnt is that cutting through 2mm board is quite hard work. The best method I’ve found so far is to score through a couple of times with the ruler and then work freehand after that. The knife will follow the existing cut easily.
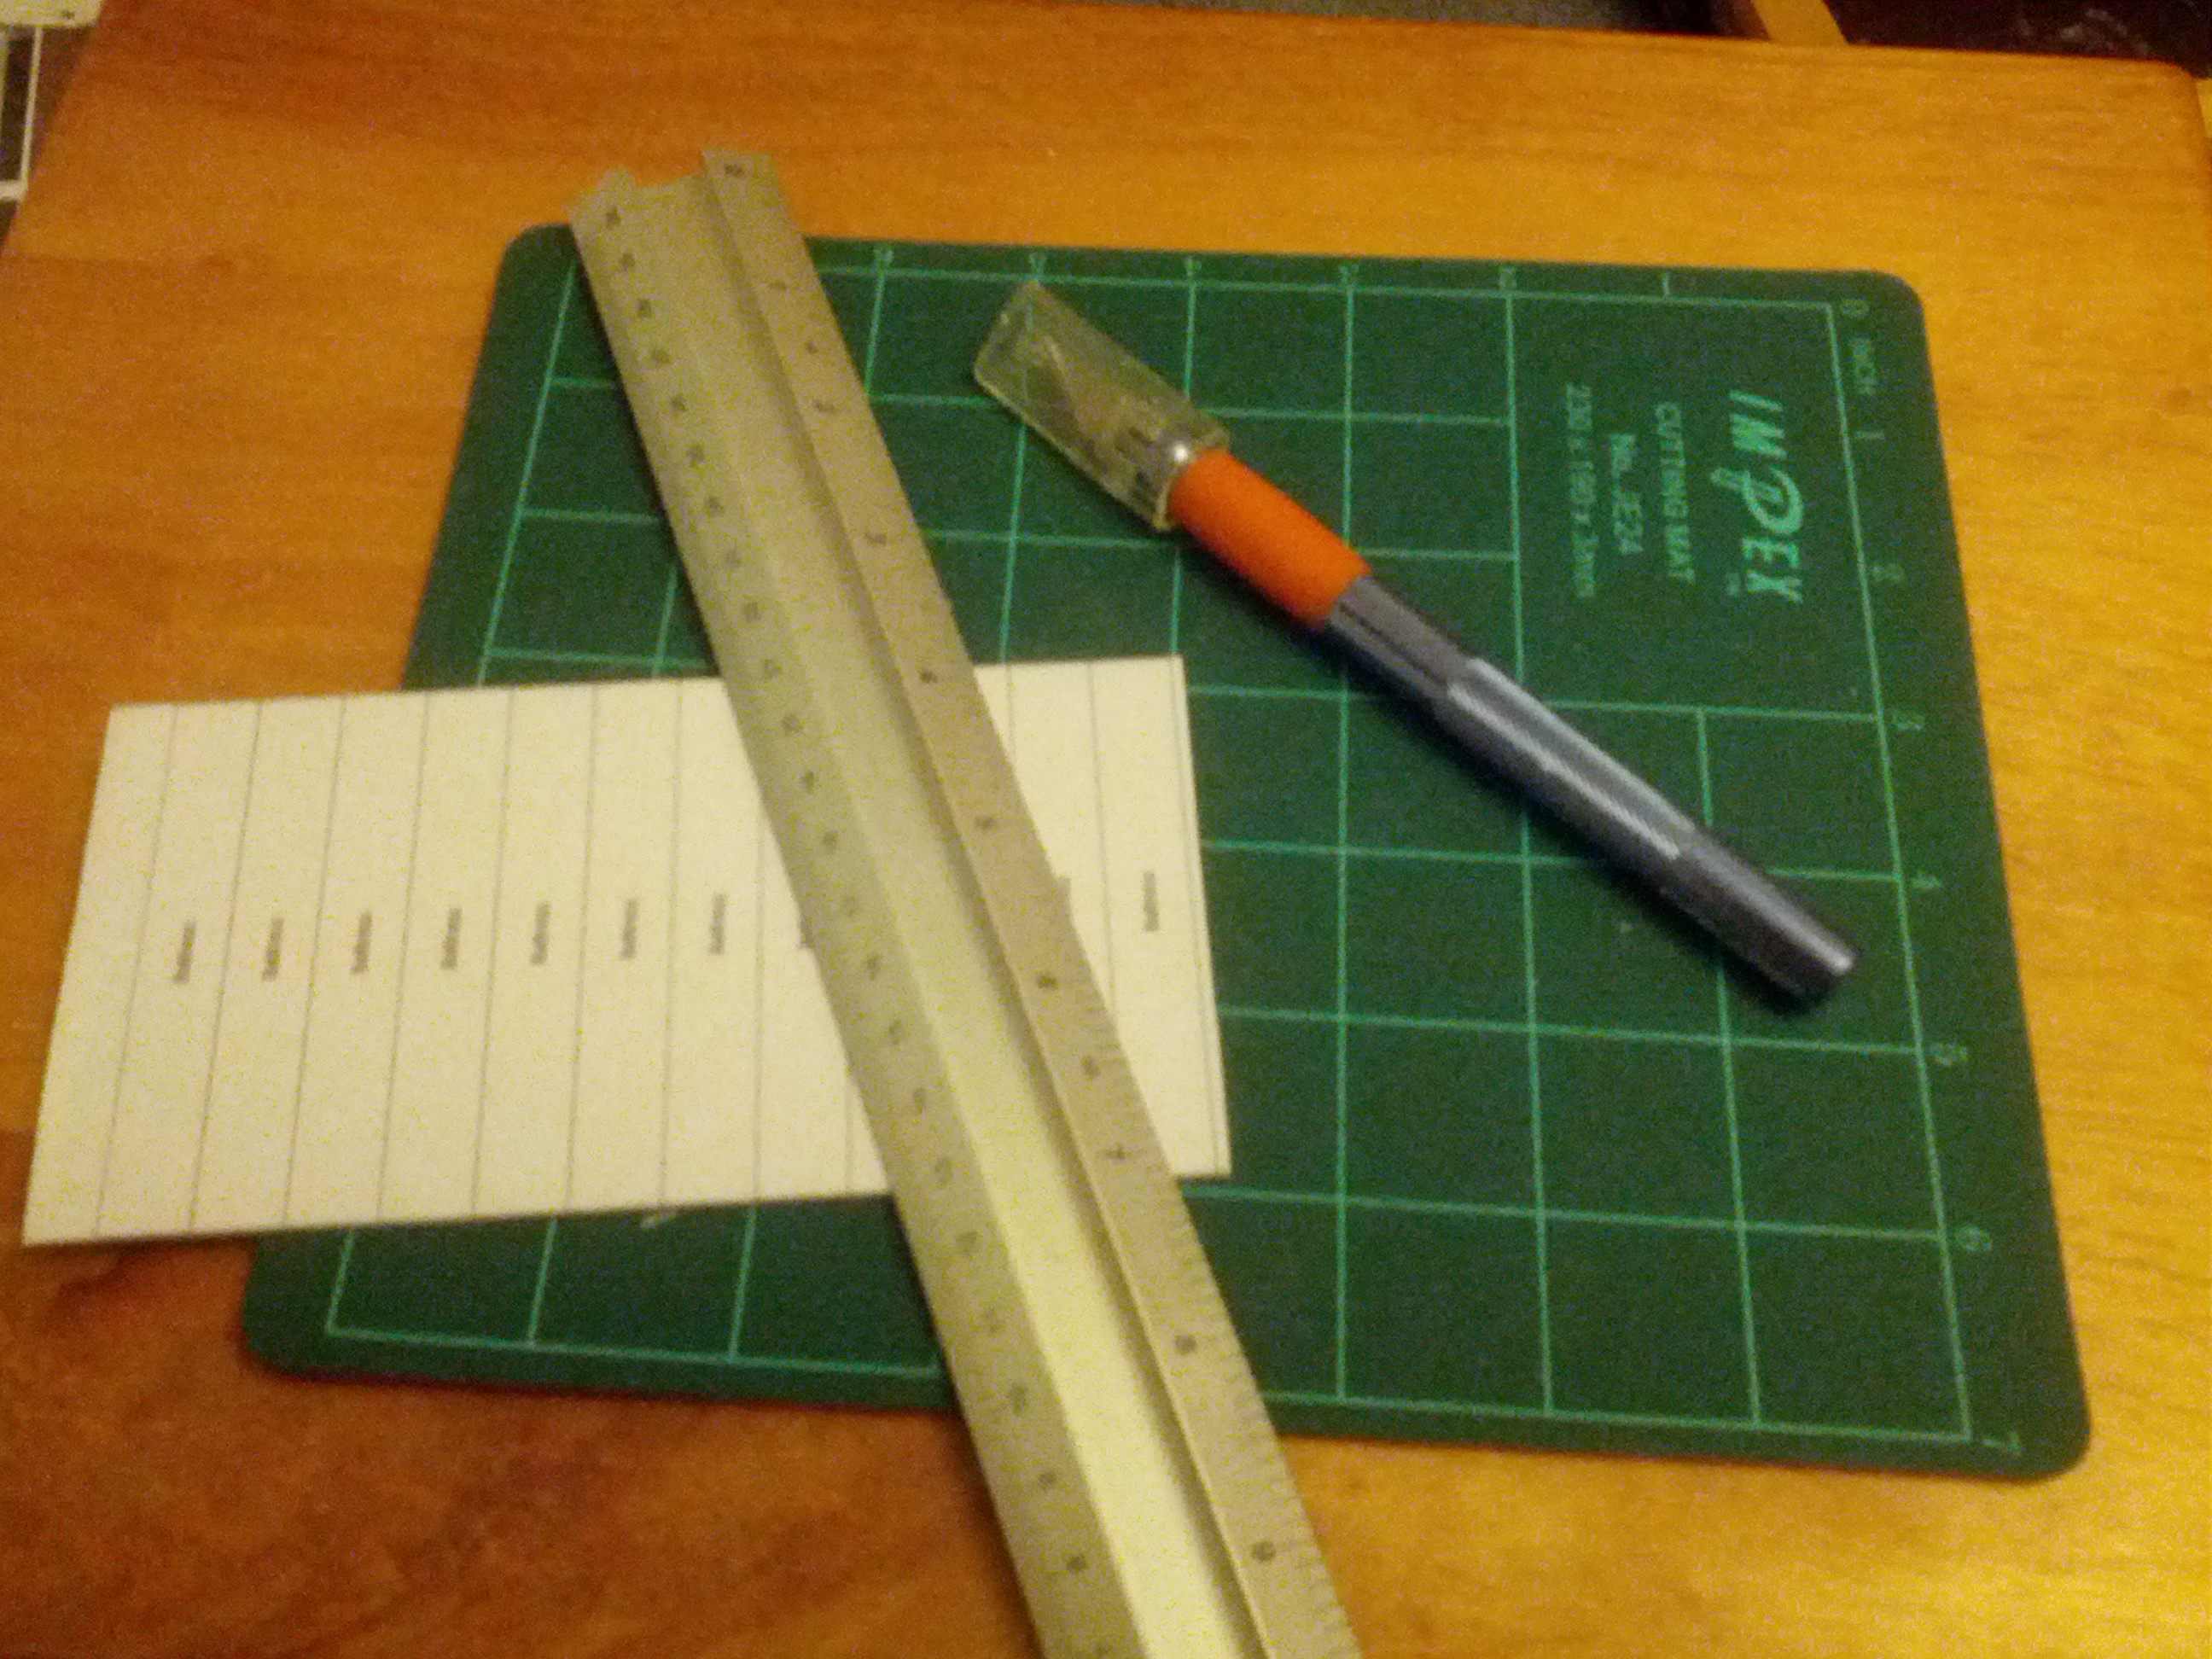
Cutting up some of the elements
So after about a week of cutting I’ve reached the point where I have a large number of pieces, however there is still more to go. However I should hopefully be in position shortly to start putting stuff together. What has stuck me is how clever the model is – multiple layers of card create the different features of the building. It’s certainly not a simple box structure!
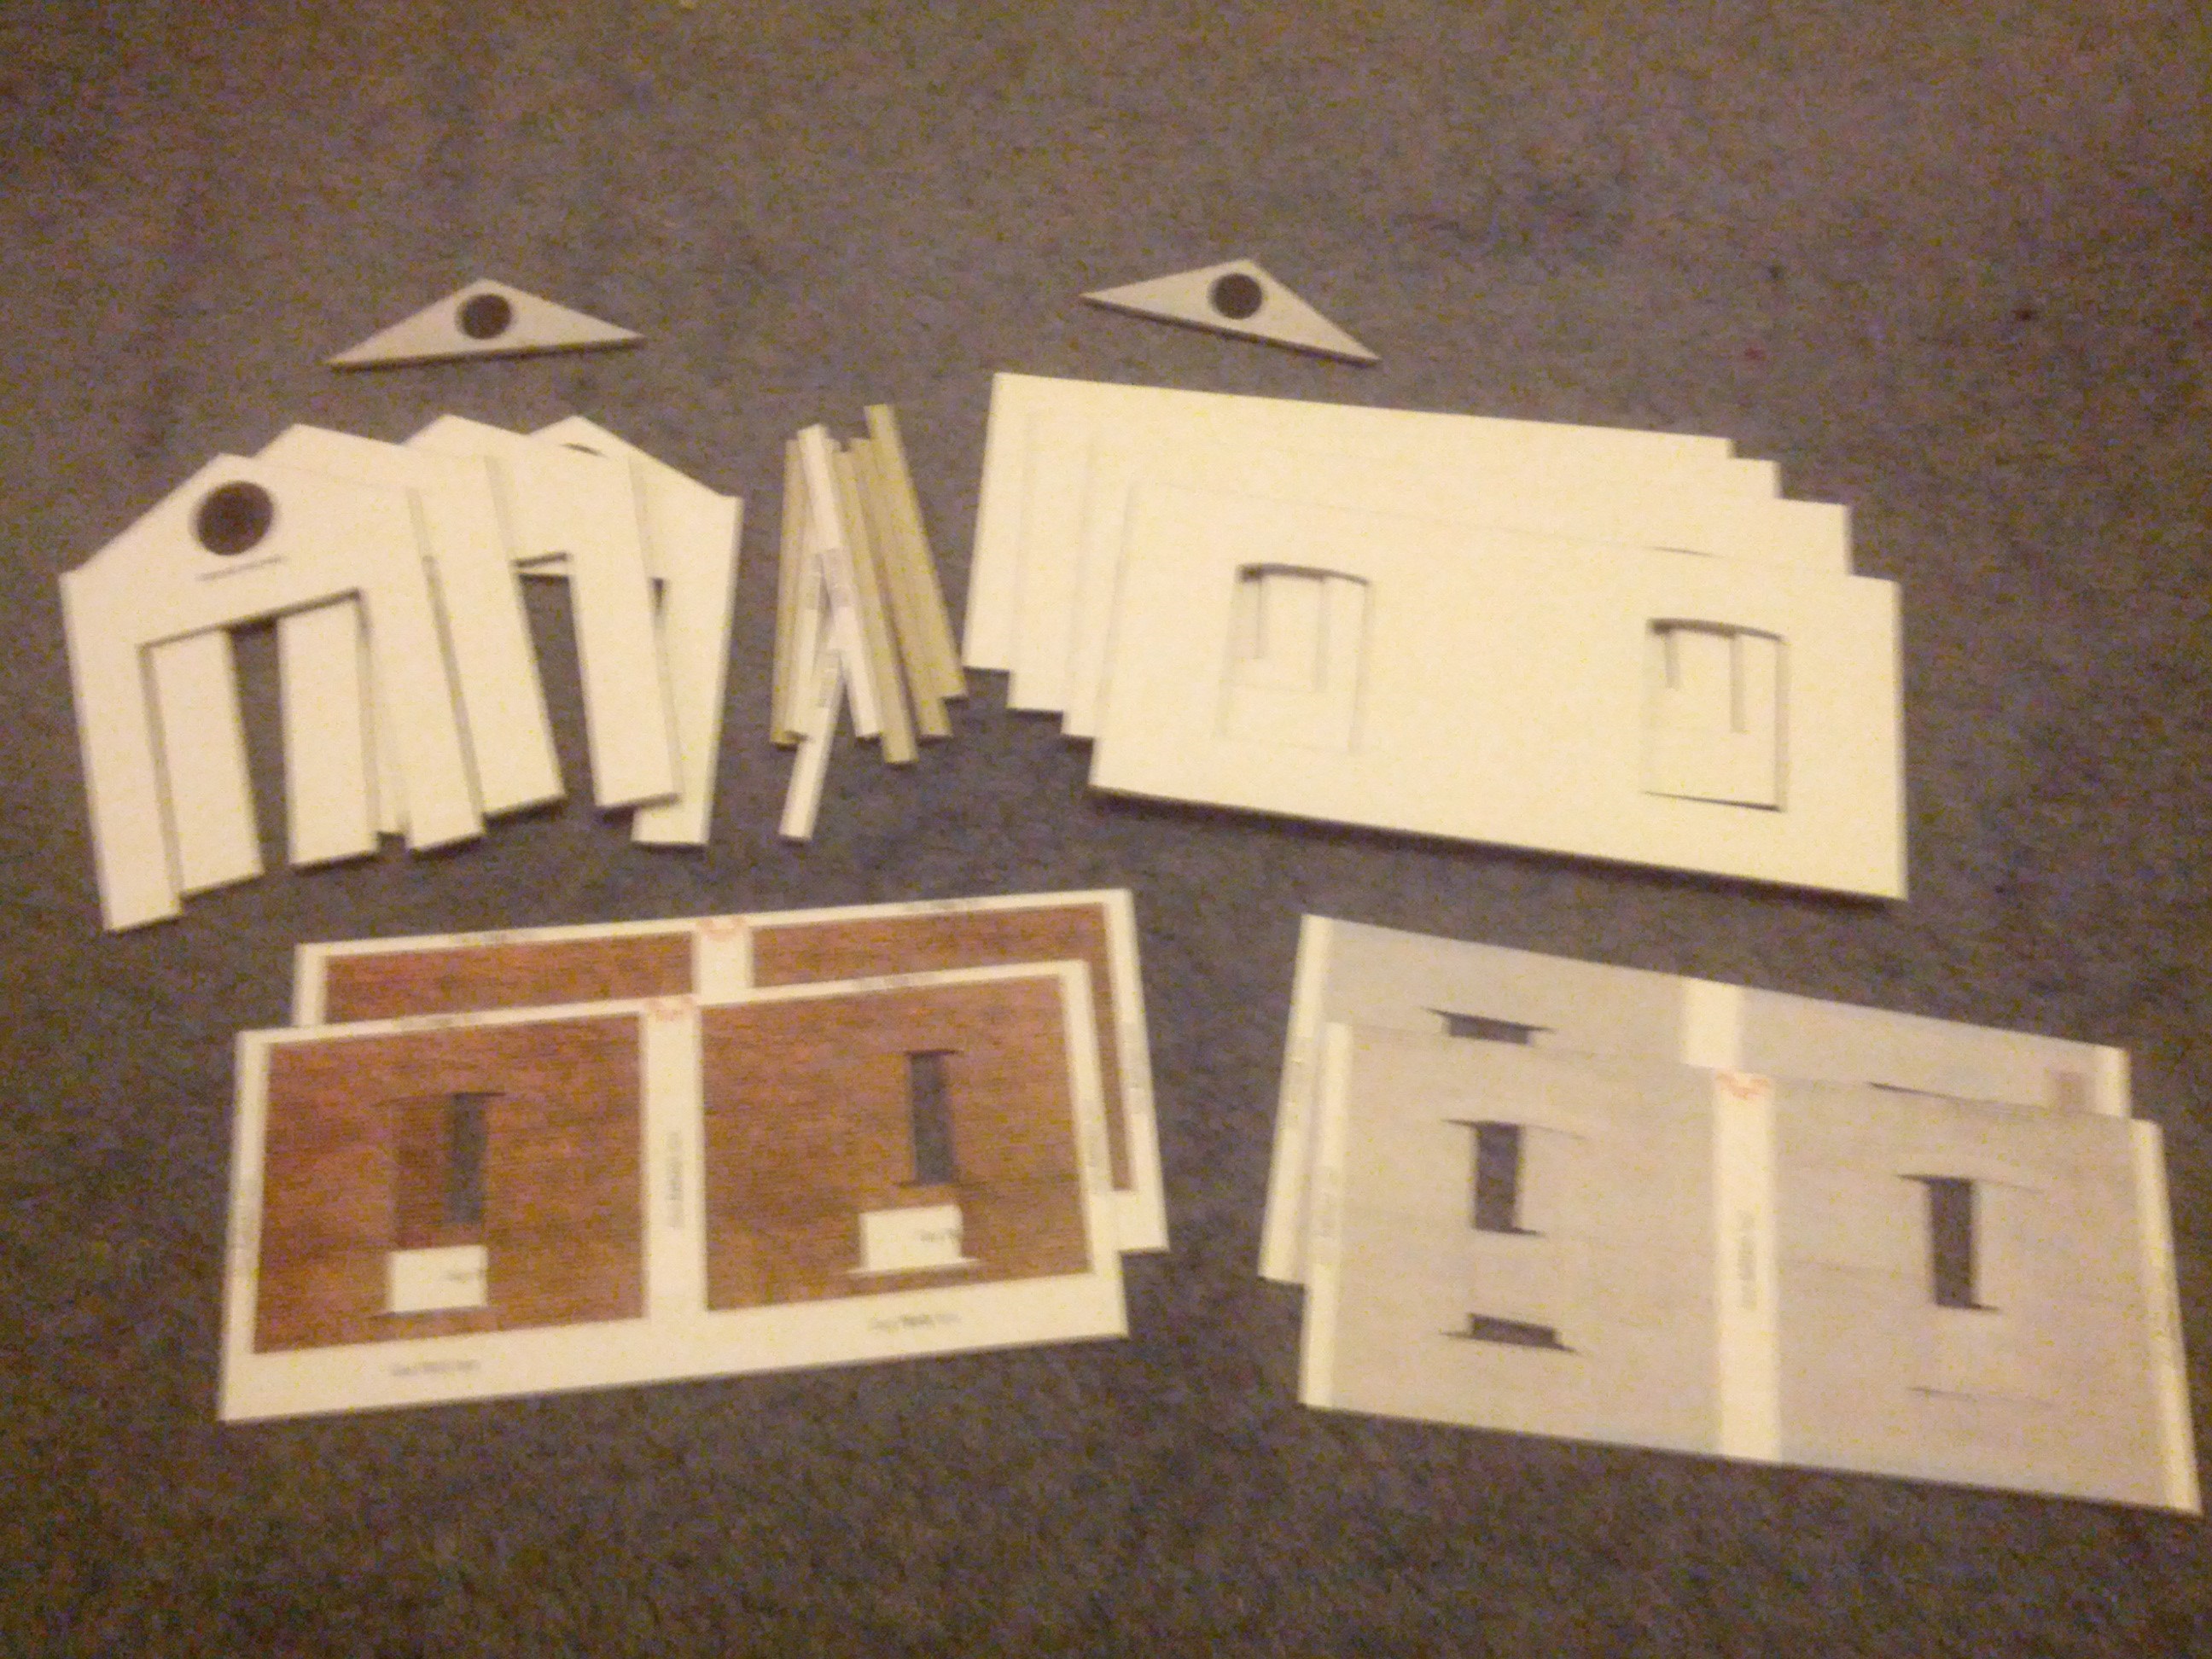
Just some of the many pieces that will go into making the finished shed
Having got the initial elements cut out I took the opportunity to check that the fitted on the layout, and more by luck then judgement (however don’t tell anyone I said that) the pieces appear to fit the space perfectly. The plan (as shown in the photo below) is that the shed will go at one end of the fiddle year in front of the raised station. In order to get maximum length for the trains the tracks continue under the station, however the aim is to give the impression that they stop at the end of the sheds.
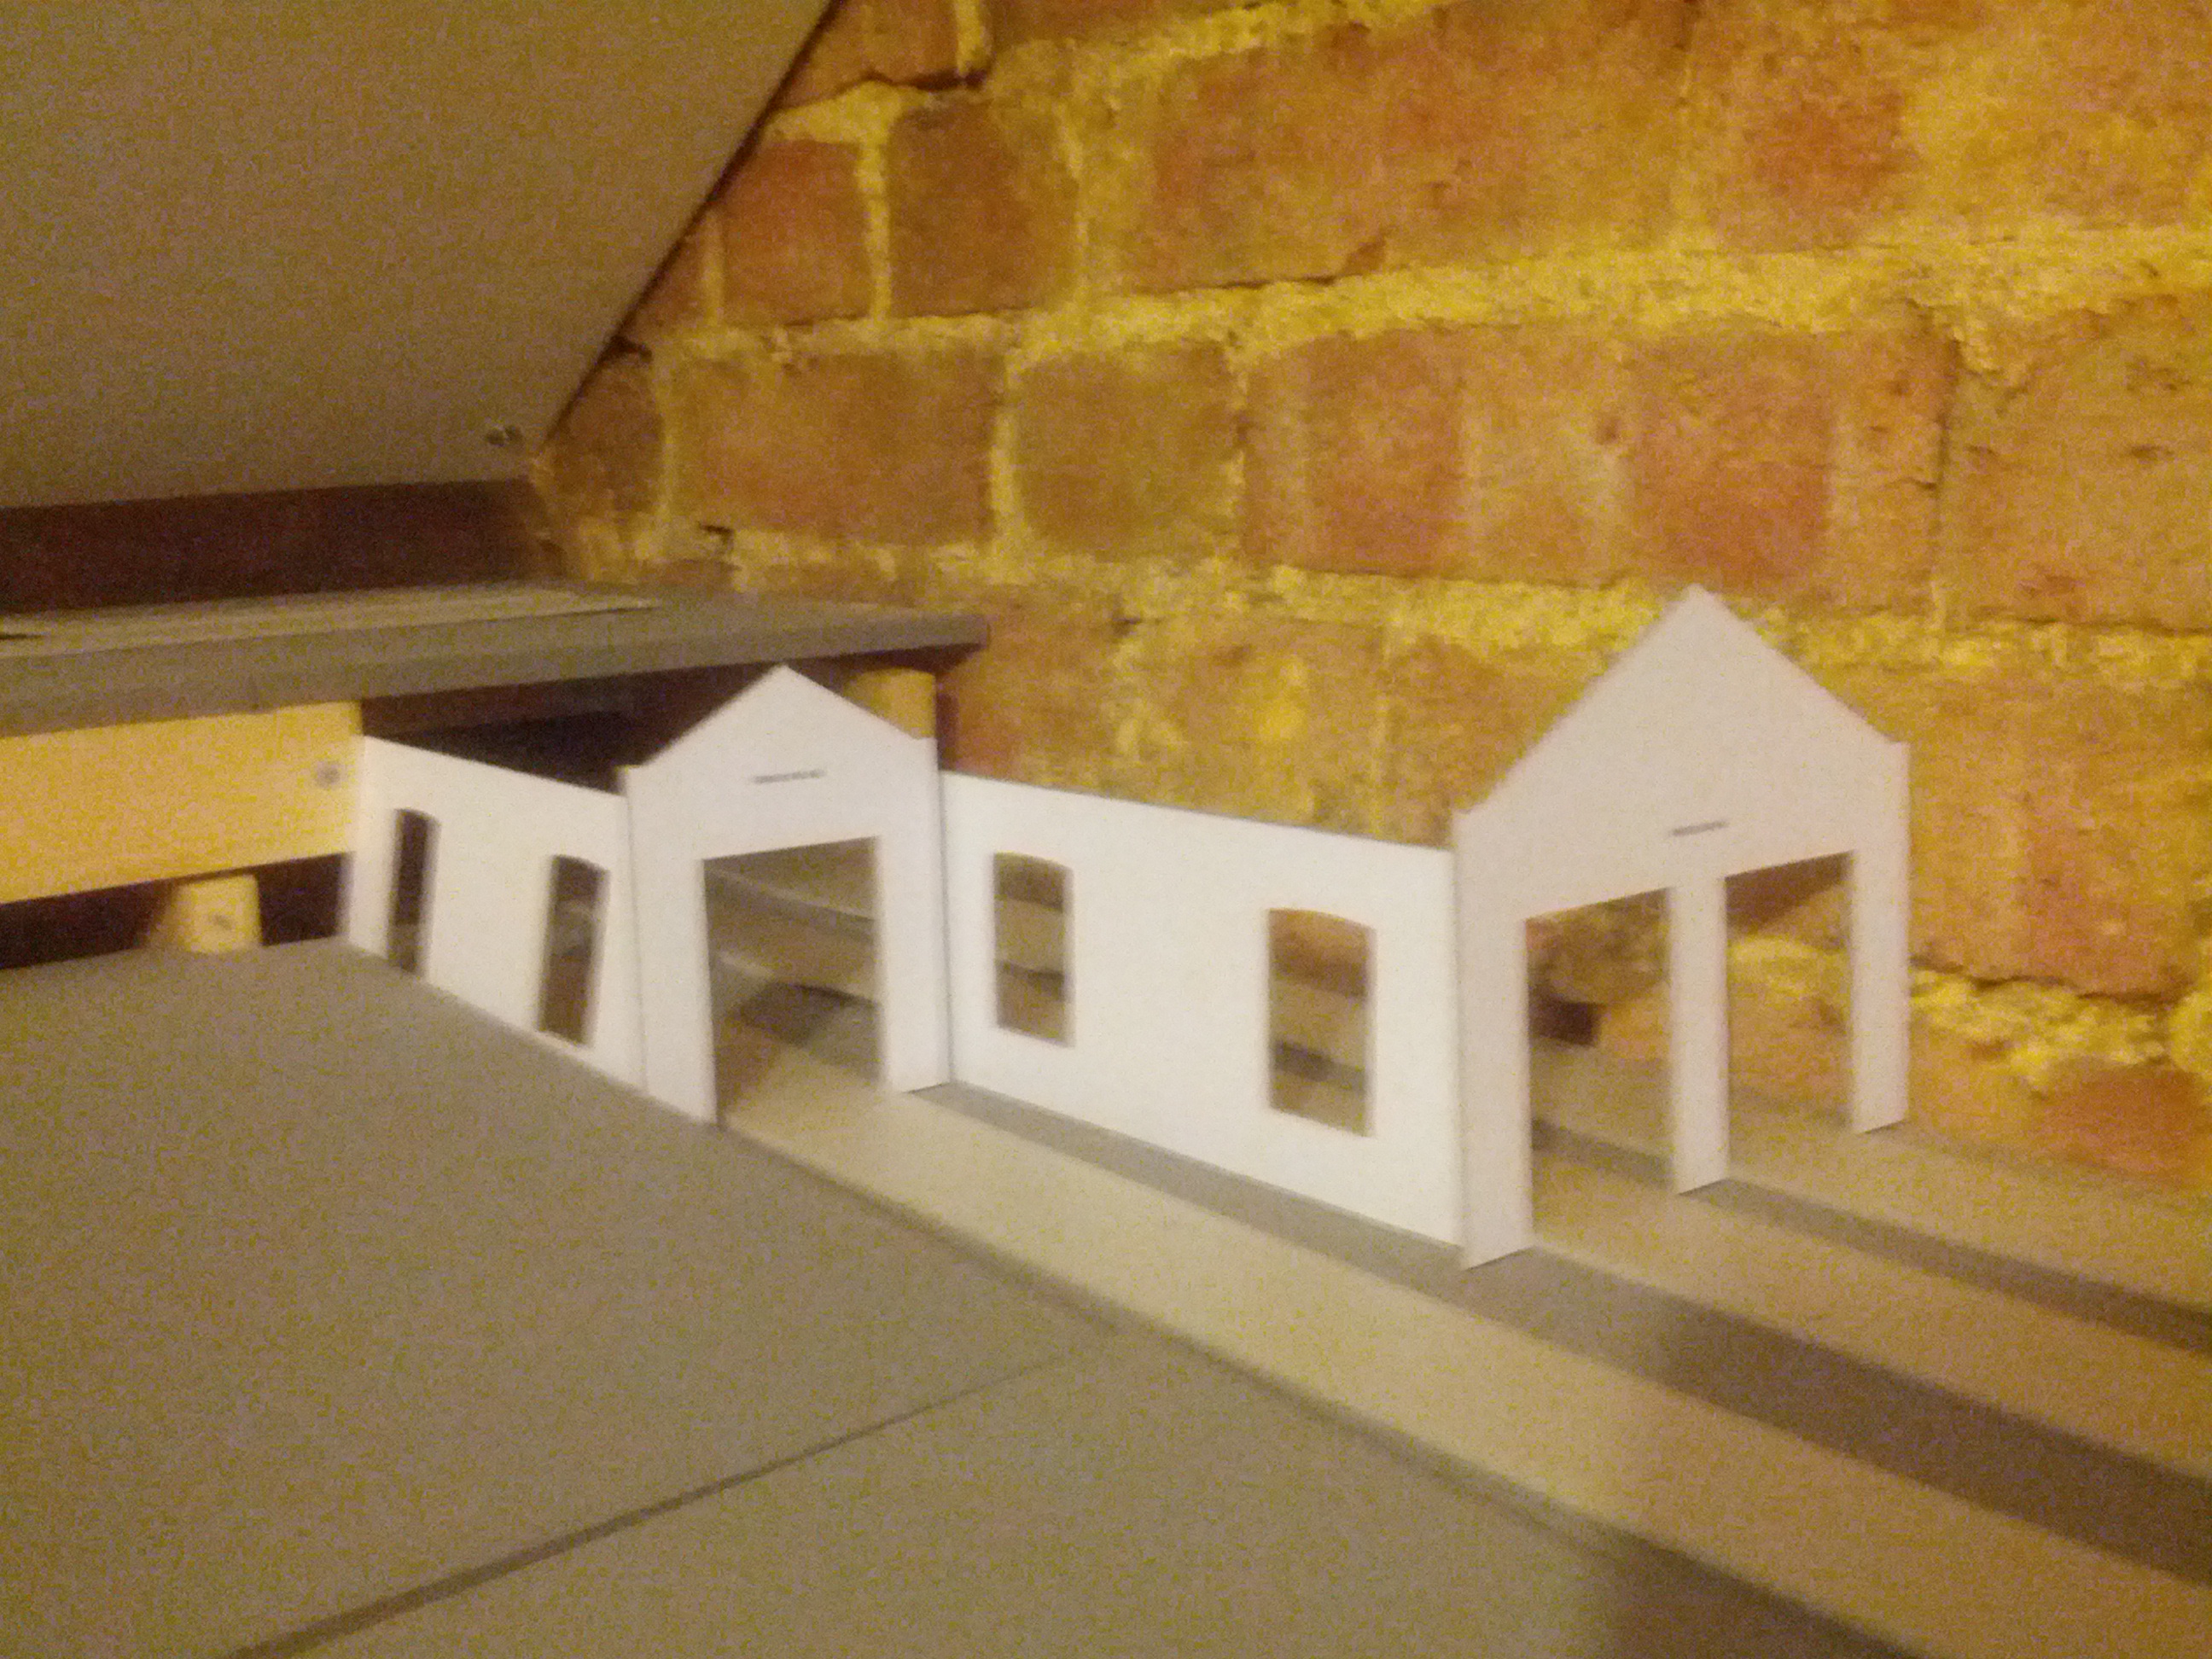
Some of the sides in position to check they fit and give the impression of what the finished article may look like
So for now its back to the cutting and sticking. I’ll try and get some photos as I progress, and create another post on the progress as it happens, but as always don’t hold your breath!