One of the areas that I’ve been playing with recently is that of how to control the railway. The traditional approach is simple and cheap and uses plain DC voltages to control everything, however there is a more modern approach using DCC which is more flexible but expensive. I’ve used DC in the past, but am interested to see if I can get DCC working on the new layout
Introduction to DCC
For those interested in the detail this next section may be interesting, for those who don’t care about how things work you may want to skip on……
Before getting into DCC control it’s worth spending a moment on how DC control worked. This was very simple – supply a DC voltage to the rails and the train moved. The higher the voltage the faster it went, and to make it go backwards reverse the voltage. This was simple and cheap, however running multiple trains on a large layout would mean complex wiring to each section to work out where the control was coming from and to handle accessories such as points.
DCC takes a different approach – the power is always there, however there is data embedded into the power in the form of a square wave. There is a chip in the train which picks up the data and then carries out the instructions meant for it. This makes the wiring considerably easier – just run the same thing everywhere, however does mean the trains need to be more intelligent. DCC can also be used to control additional features on trains such as lights and even sound, as well as other items such as points or signals in a similar manor.
Getting it working
Since DCC controllers can be very expensive since they have to have the user interfaces to drive the trains and create the data stream then I went for the cheaper option of a PC based interface. This uses software on an existing computer (so only cheaper if you already have that part) to be the brains and then a simple and cheaper USB interface to talk to the track.
I’ve gone down the route of buying a SPROG and controlling it with JMRI which is an open source model railway control programme. This appears to be a well tried and tested combination of software and hardware – there are even Sprog specific windows within JMRI. I also spend the grand sum of £20 very cheap Hornby Jinty train which came DCC fitted to play with so I knew I had a known good train to start with.
My challenge came with the fact that I was using a laptop running Windows 10. The instructions list all sorts of hoops to get the Sprog driver installed (thank you Microsoft), and I reached the point where the Windows Device Manager listed with the correct name. From there I could point JMRI at it and all looked sensible.
My issues came when actually trying to talk to an engine to read its capabilities or control it. All I kept getting were “Error 301: Timeout talking to command station”. Early indications were that everything PC and Sprog wise was correct – lights on the Sprog flashed when they should, so I couldn’t work out if there was an issue with my test train, the Sprog or somewhere else.
After a long time (think weeks and a couple of attempts) I ended up reaching out to the useful community on the RMWeb forum. With the help of some more experienced members of the forum I picked up some pointers, including the basis one of read the manual. On doing so (the PDF that came with the device, not the help on the website which was my mistake), I discovered some additional fault finding which made me realise that the Sprog was not installed properly. It looks like the communication was going in one direction – to the Sprog, but not back again.
At this point I pulled out the cupboard a very old Windows XP machine which hadn’t been used properly in 3 years, installed the software and everything worked first time as it should! It was really nice to click the button on the screen and see the train move. I even got to the point where I could do the same via my tablet!
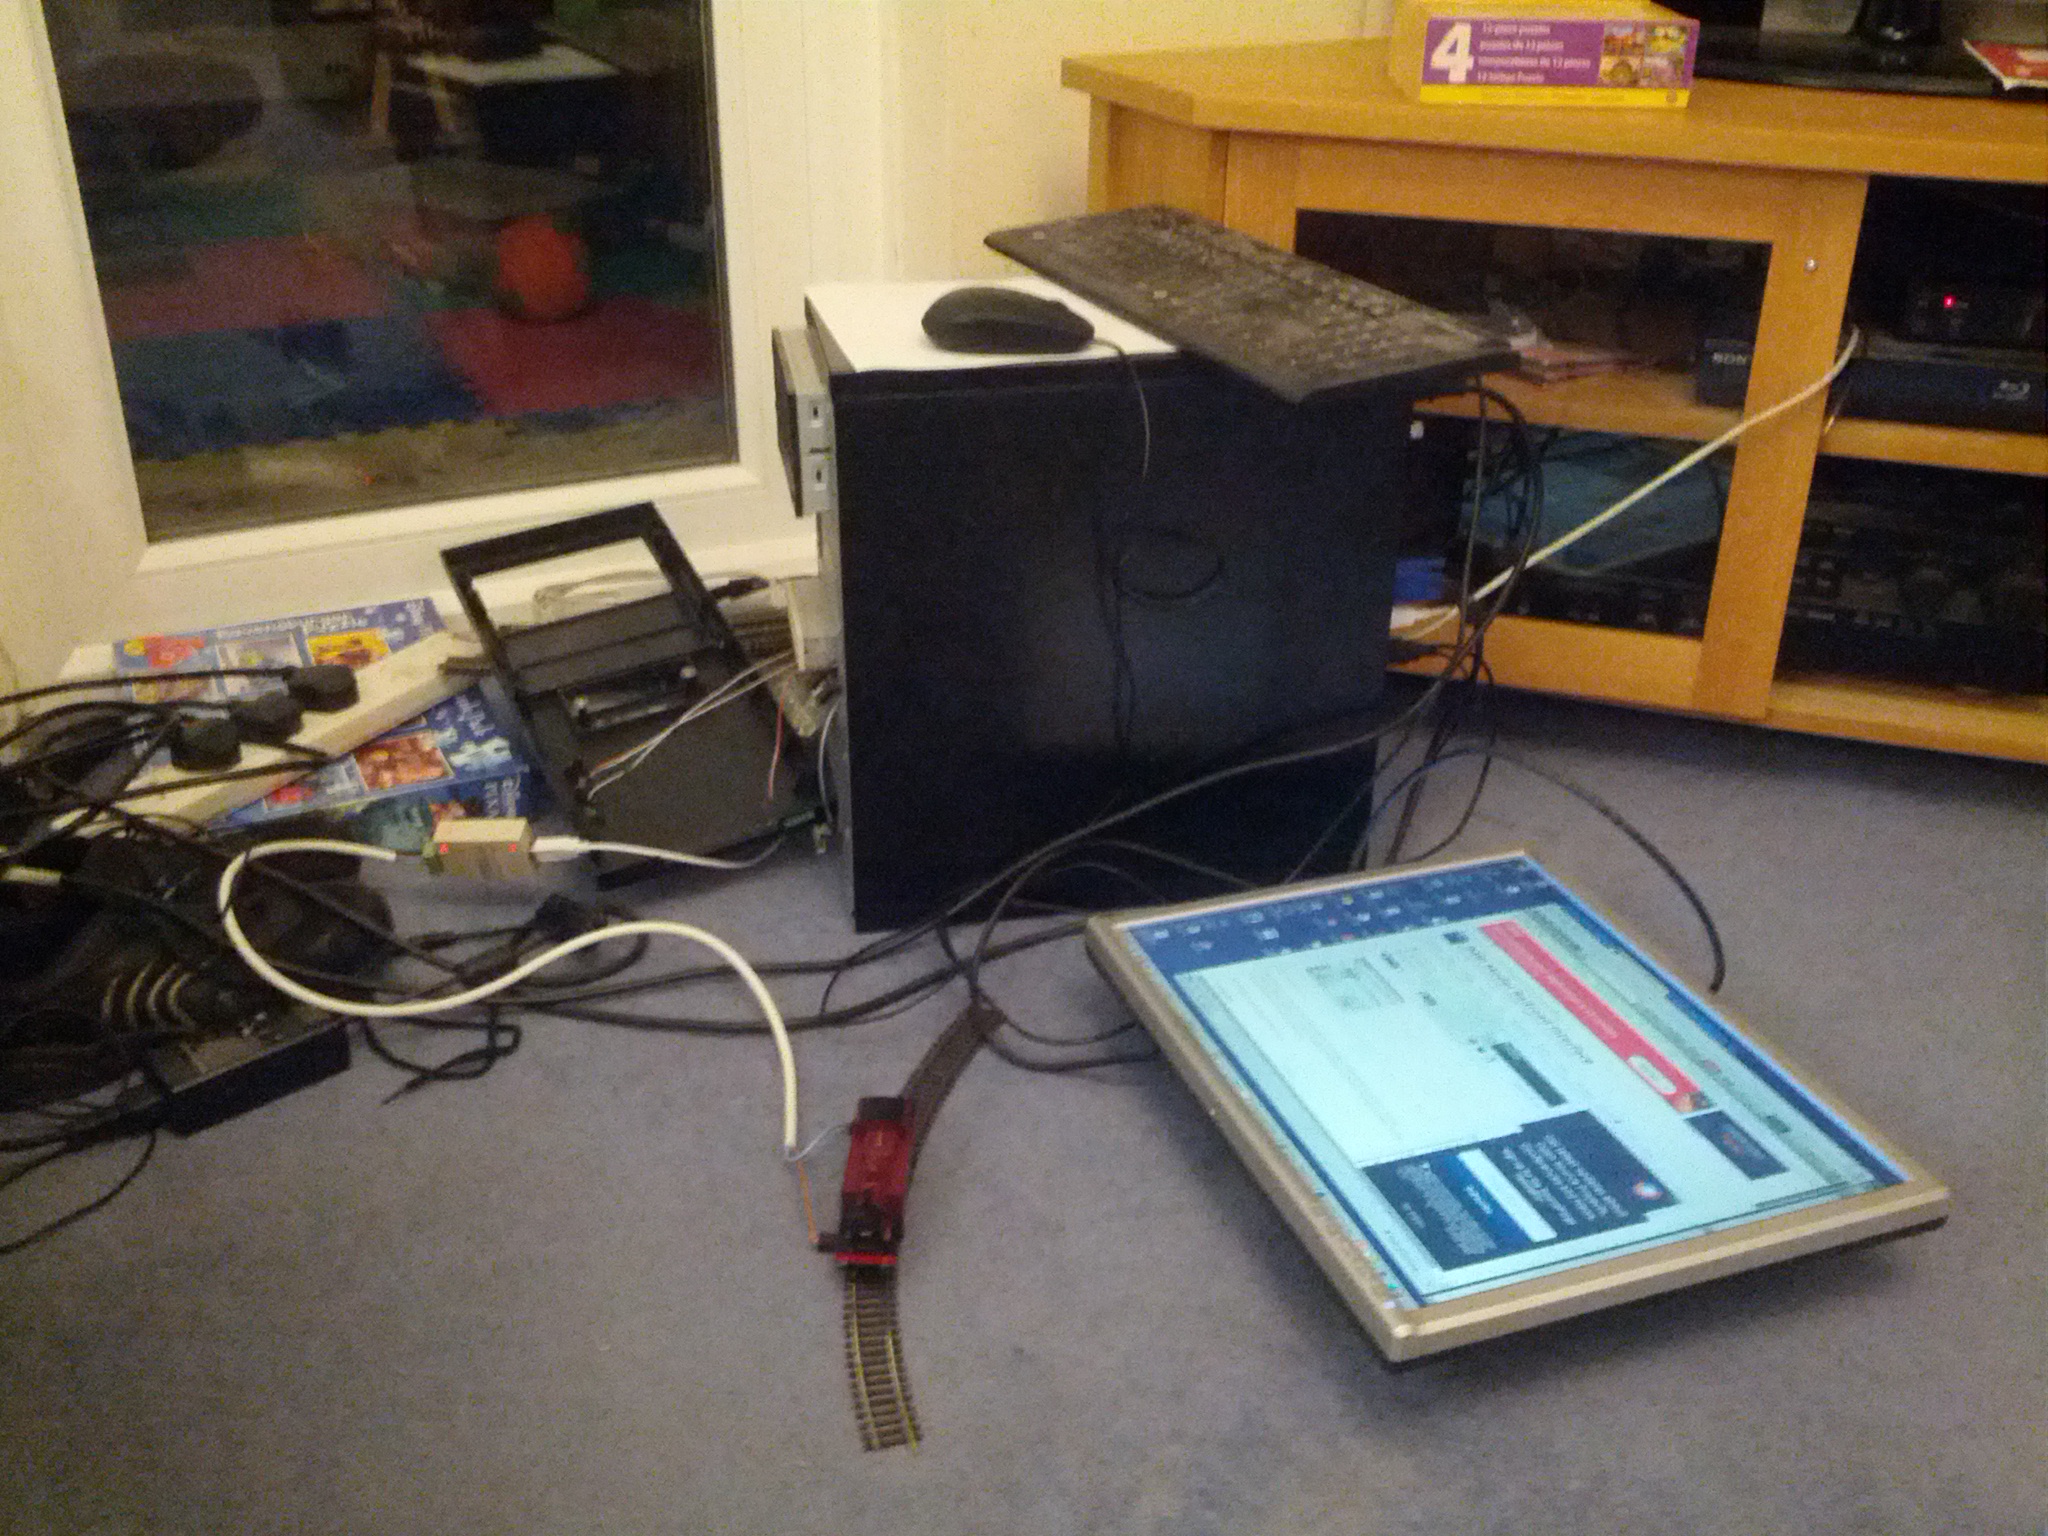
The pile of old computer technology required to make a train move!
So I’d spent weeks and hours of fiddling as a result of Windows 10 on something that should have been very easy. The next question is what do I run this on long term, since the laptops in the house are now all running Windows 10. I believe that people have JMRI running on a Raspberry PI, and since I plan on using a tablet for control then this is probably the next thing to play with.
In other news….
Percy has finally made it to the end of the line, or at least the line that has been laid so far. Tonight saw the wiring of all the currently laid track completed. This includes two sets of points where the motor motors and frog switching is in place, even though I currently have no way of actually changing the points.
The next immediate tasks to do are:
- Make a hatch for the inside of the loft. This is becoming increasingly important since a little boy enjoys visiting the trains. Also I’ve got a list of people who would like to visit, so making it safer would be good.
- Tidy the loft to make more space (always useful)
- Neaten up some of the existing wiring where the double sided sticky tape has not been strong enough on the self adhesive cable tie bases (grrr)
- Start designing the viaduct so that I can position the point motors and track above, otherwise it will remain a U shaped track for a long time.
As always I just need a little bit more time to get everything done…..!